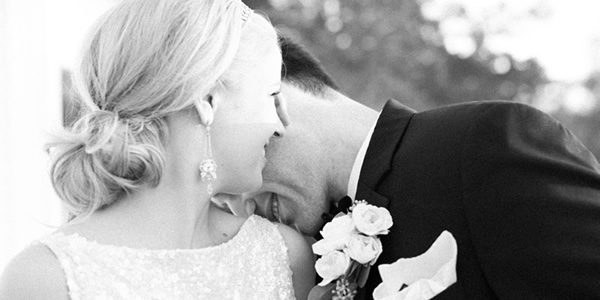
Tips for Product Photography
I often have to grab shots of products for my clients who may be coming out with a new product, bloggers who have to show off a specific item or the detail shots at my weddings.
So, with that being said I have created a short list of tips and tricks to get you on the right track to creating professional photos for your product or services!

Use a Bokeh Background for Lifestyle Product Photos
If you want to create interesting and moody backgrounds for your products, bokeh is an example of a simple, yet very popular style.
Bokeh is a blur effect done by a specific type of lens and that creates an interesting visual quality of out-of-focus areas of a photographic image.
You could create a Bokeh wall with the help of tin foil, prime lens and product photography lighting!

Avoid Using Filters
You definitely want your product to appear in the best light, but you also want it to accurately represent what the product looks like.
Let’s leave the filters to our selfies, or personal use of products!
Don’t Delete Images Until You’ve Seen Them on a Computer
How many times does that happen?! The pic that got away…
When it comes to taking product photos avoid deleting images directly from the camera.
Once you see images on your computer screen, at a much larger view, you’ll have a better understanding of which images look great and which don’t.
Sometimes the photos that you liked the most from the camera’s view finder, may not be the best one you have!

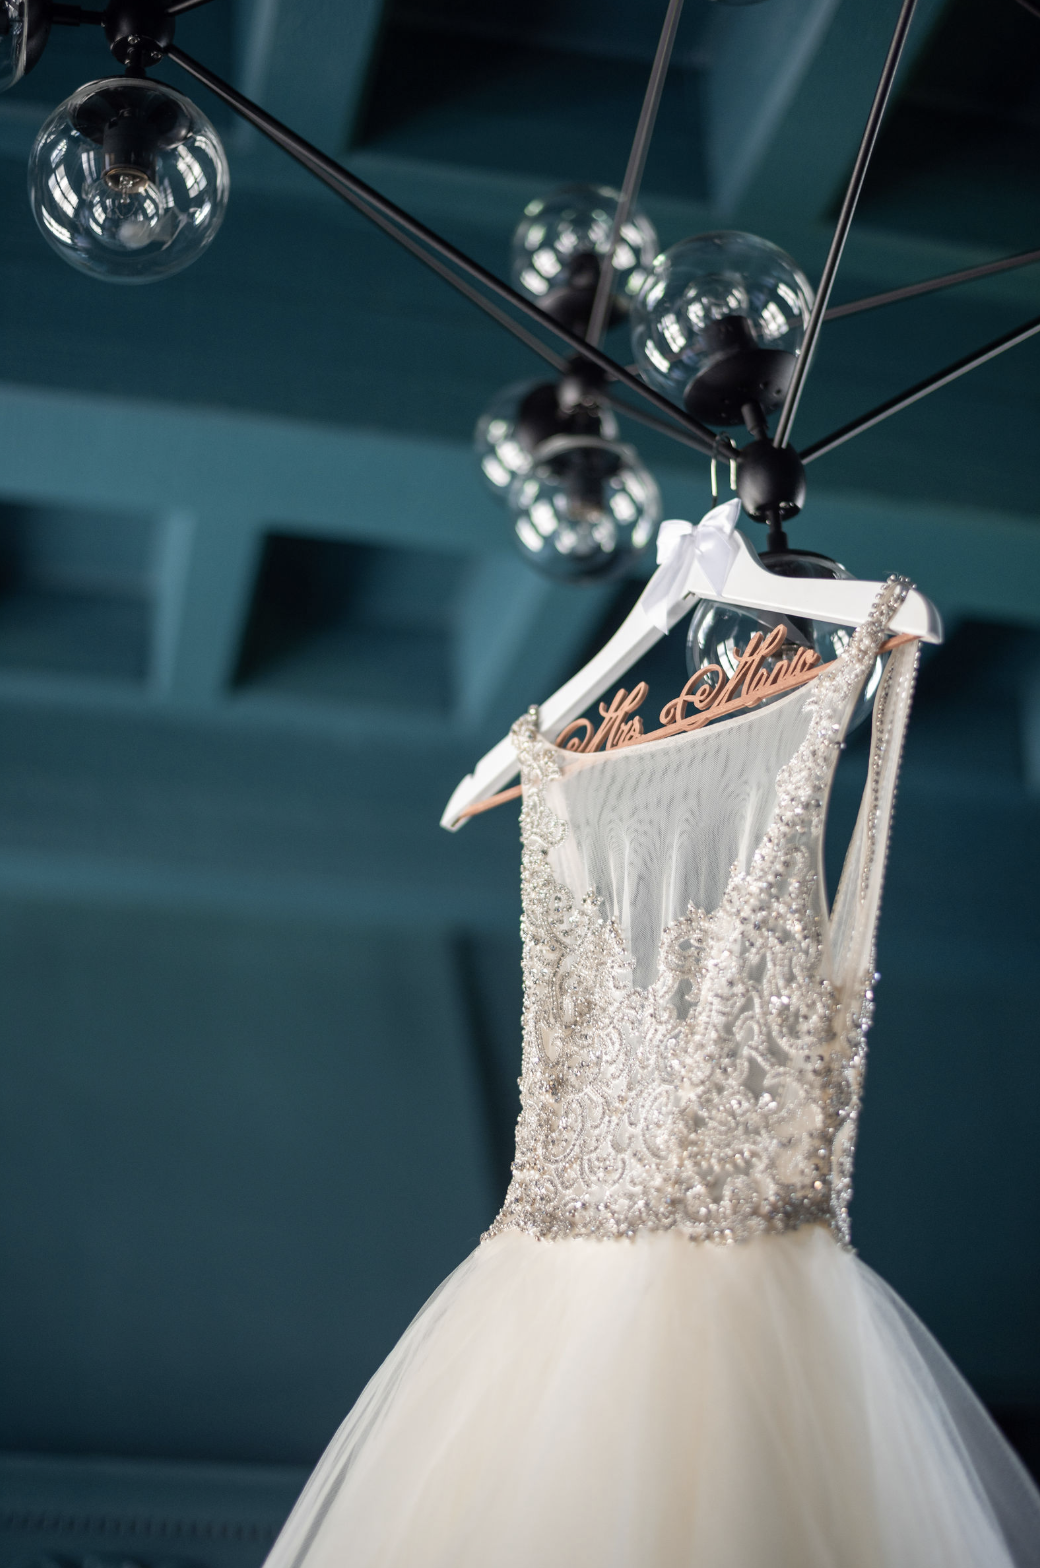
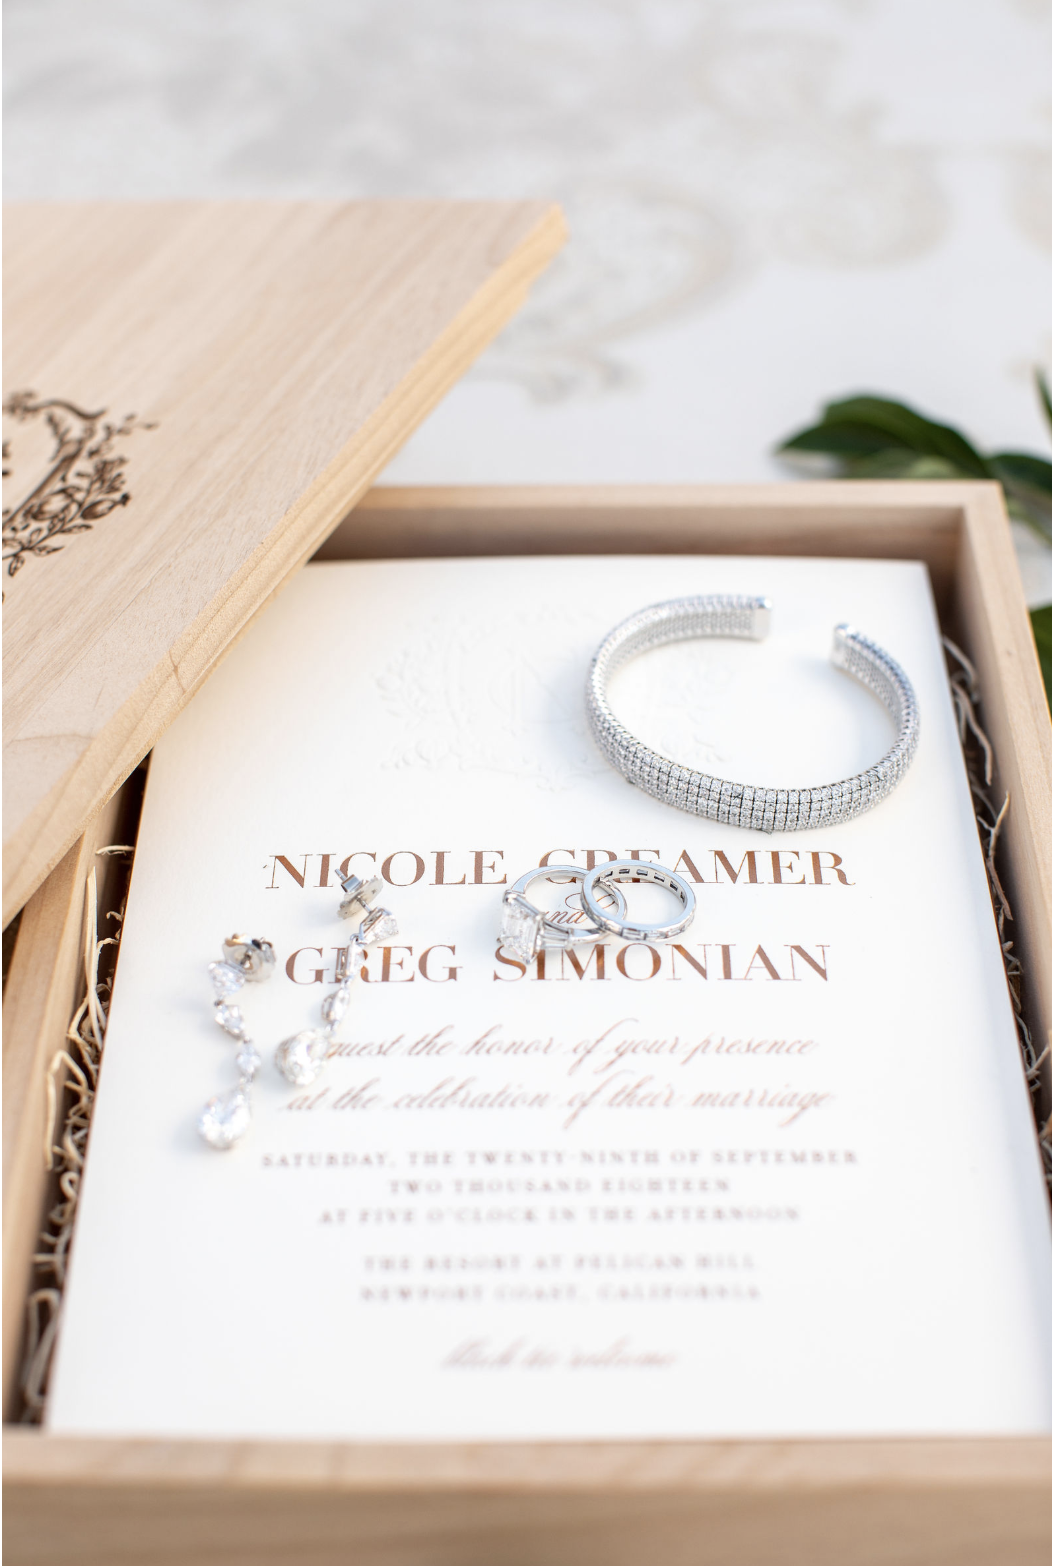
Use a ‘Macro’ Setting to Capture the Finer Details
If you’re selling jewelry or a product with fine details, using a macro setting on your camera can help you capture ALL the little details.
This helps customers feel more confident in their purchase because they can fully see what the product looks like up-close.
Using a macro lens helps you capture finer details than the settings on your camera.
Try Different Photo Styles
Same product, different angle, different background, and different pose!
You can hang products for unique product perspective, position the product in the background of an image, showcase people using your product or the product on its own and if possible even offer a 360 view of the product.
Giving your consumers more angles and perspectives can make them more comfortable in their purchases!