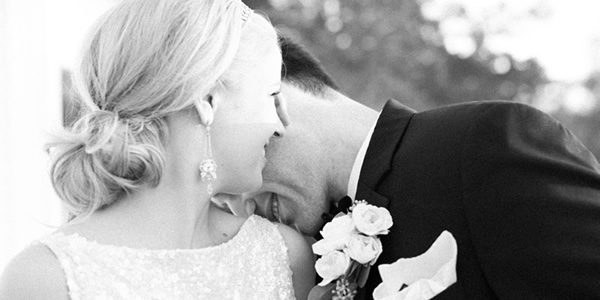
Three-Point Lighting Guide
I often get questions about lighting, and what my preferred lighting setups are when I’m doing photo shoots…
And the truth is y’all, is that it often changes often because it all depends on the type of shoot and what images need to be captured.
So, I’m gonna break it down a standard indoor photography lighting set up called three-point lighting!
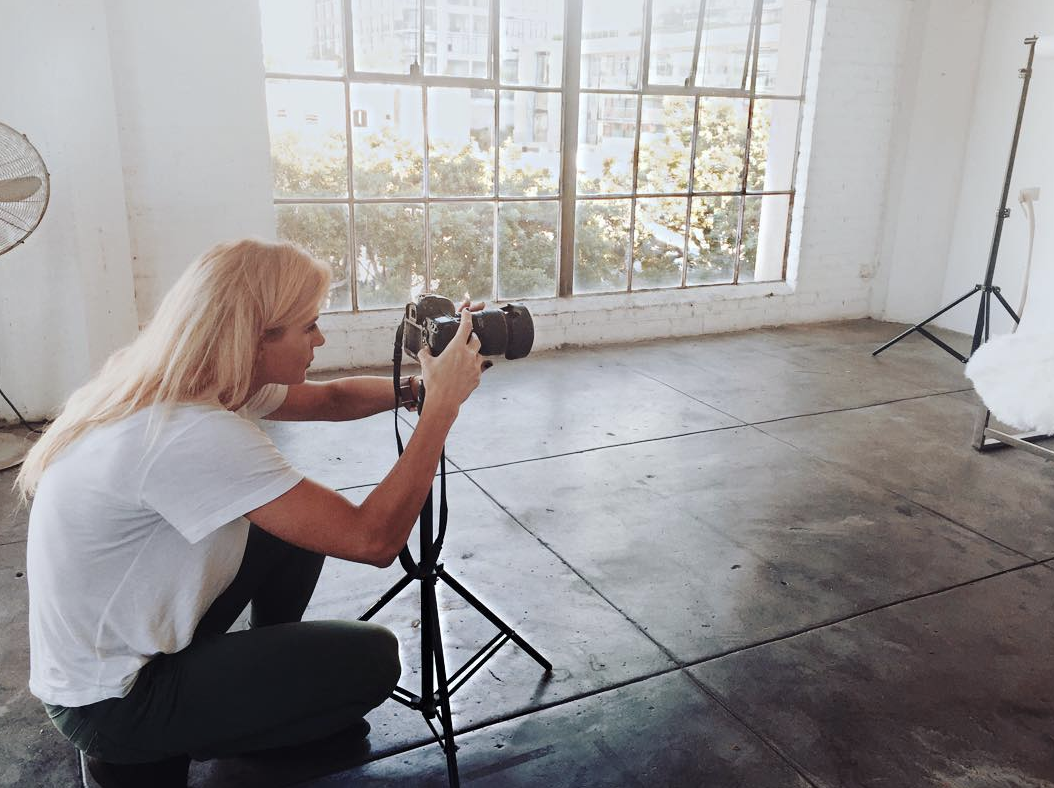
When you set up this lighting technique there are three lights that you need to make sure you have…
Key Light
In a dark room, the key light will be the primary source of light used to illuminate your subject. The key light acts as a place of the sun or window. It’s the strongest light in your set up and, as a result, will cast the darkest shadows and have the biggest impact on the look of your scene. Place the key light between 15 to 45 degrees to one side of your subject, depending on your preference.
Fill Light
The next light you’ll add to your set up will be the fill light, which allows more light to your subject, making it more visible, and softens the light from the key light. This secondary light should generally be placed on the opposite side of the key light.
Back Light
The back light is placed behind your subject, illuminating it from the back, duh! The purpose of the backlight is not to add light like the key and fill light, but rather to separate your subject from the background and create definition by creating a bright outline around your subject.
Don’t be afraid to get creative as well. Is there a huge window in the room that could allow natural light in?
Try using that as your key or fill light and see how it changes the image.. you may be surprised with how it turns out!
If you liked this blog post, make sure to check out my post on Tips to Off-Camera Flash for even more photography tips!
Until next time, stay inspired.
Jana